
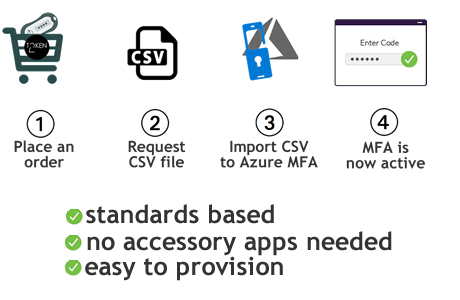
Classic hardware tokens for MS365 / Entra ID multi-factor authentication (SHA1 only)

Importing a CSV file directly into the Entra ID – OATH Tokens blade is not supported for devices that use SHA-256 hashes, such as the C203.
The Entra ID OATH provisioning interface only accepts SHA-1 token seeds, and while CSV upload will succeed for SHA-256–based devices, activation will always fail.
To enroll SHA-256 OATH tokens, you must use the Microsoft Graph API method instead.
New Provisioning Method Now Available!
We are excited to announce the availability of a new provisioning method: Graph API based. This method introduces Self-Service capabilities and supports SHA-256 Tokens, offering enhanced security and user convenience.How to add classic OATH hardware token to Office 365 MFA
Microsoft keeps redesigning the Portal UI for newer tenants, so the navigation path, menu items, page titles as well as the elements on the screenshots below may be slightly different from what you see on your portal interface.To make use of the classic OATH hardware token you will need to purchase an Azure AD (Microsoft Entra ID) Premium P1 or P2 license. With a programmable hardware token for Azure MFA, which is a drop-in replacement for an authentication app from Microsoft (Microsoft Authenticator), there is no need for a premium subscription, Azure AD (Microsoft Entra ID) Free license is enough.
Azure AD (Microsoft Entra ID) supports the use of OATH-TOTP SHA-1 tokens of the 30-second or 60-second variety (currently in public preview). We have tested our tokens (they are all OATH-TOTP SHA-1 30-second, 6 digits) with Azure MFA in the cloud and can confirm they are all supported.
Requirements:
The following are the pre-requirements to complete this configuration:• Azure AD (Microsoft Entra ID) Premium P1 or P2 license
• Token2 hardware token(s)
• A CSV file for your token device(s). You can request the CSV file from your order page after successful delivery *.
* Please do not forget to send your public GPG/PGP key when requesting the CSV - this will ensure the sensitive data is not sent over insecure channels (most email systems are still using insecure protocols). You will only need to modify the usernames (UPN column) - please use a plain text editor, not spreadsheet editors like MS Excel as it may break the format.
Prepare the CSV file
The CSV file sent by Token2 does not contain the UPN for your users, so you have to add that information. Open the file in a text editor and add the missing information. The final file should look like shown below:upn,serial number,secret key,timeinterval,manufacturer,model
[email protected],60234567,1234567890abcdef1234567890abcdef,30,Token2,c202
Make sure you include the header row in your CSV file as shown above. Also, please do not edit the CSV file in Excel use a text editor (Notepad) instead
Import the CSV file
Navigate to Azure Portal > Azure Active Directory > Security > Multifactor authentication > OATH tokens (Preview) and click on Upload, then select your CSV file.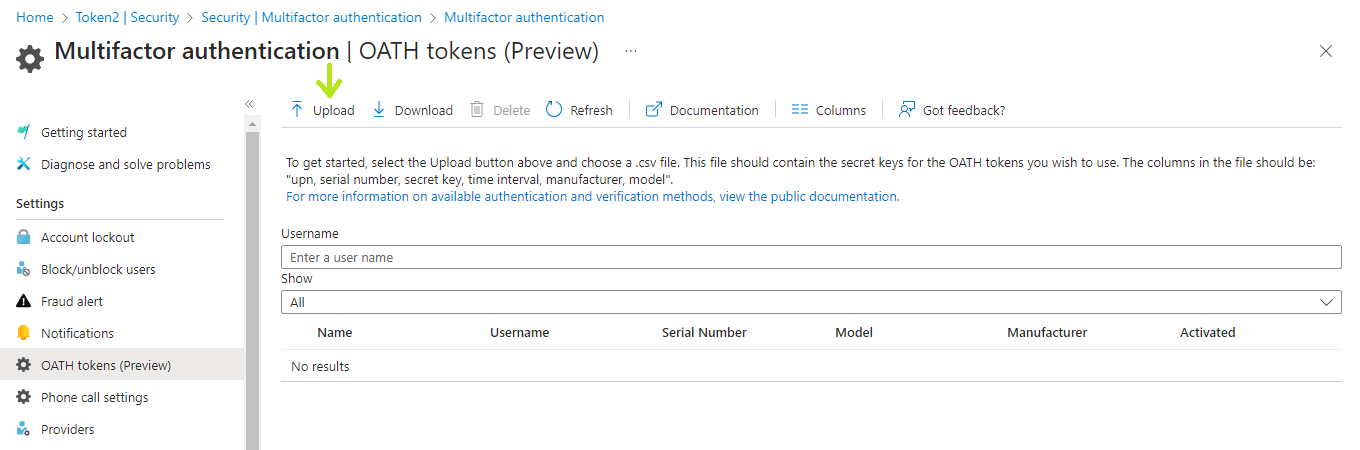
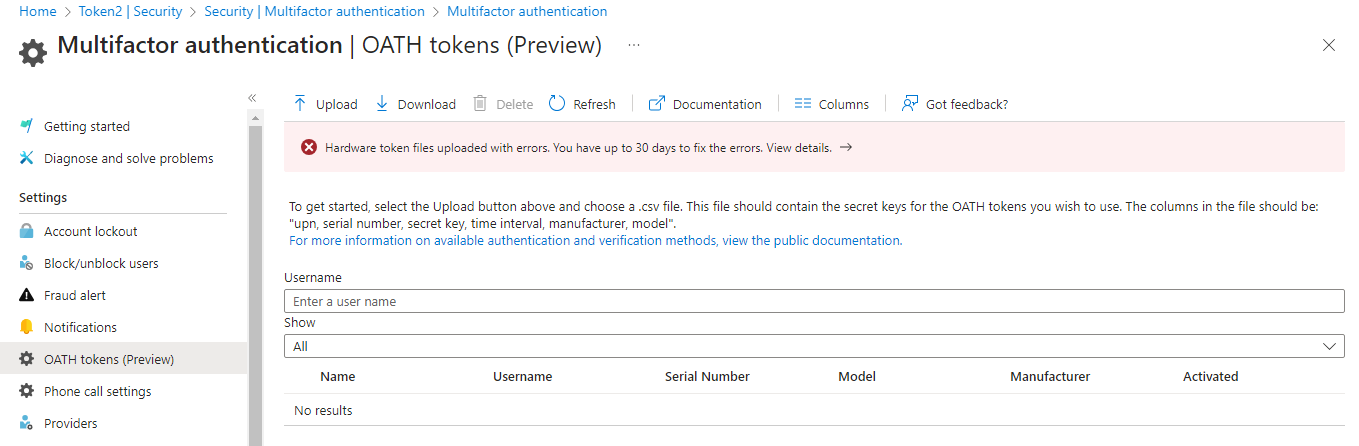
In case the CSV file format is not correct you will get an error.
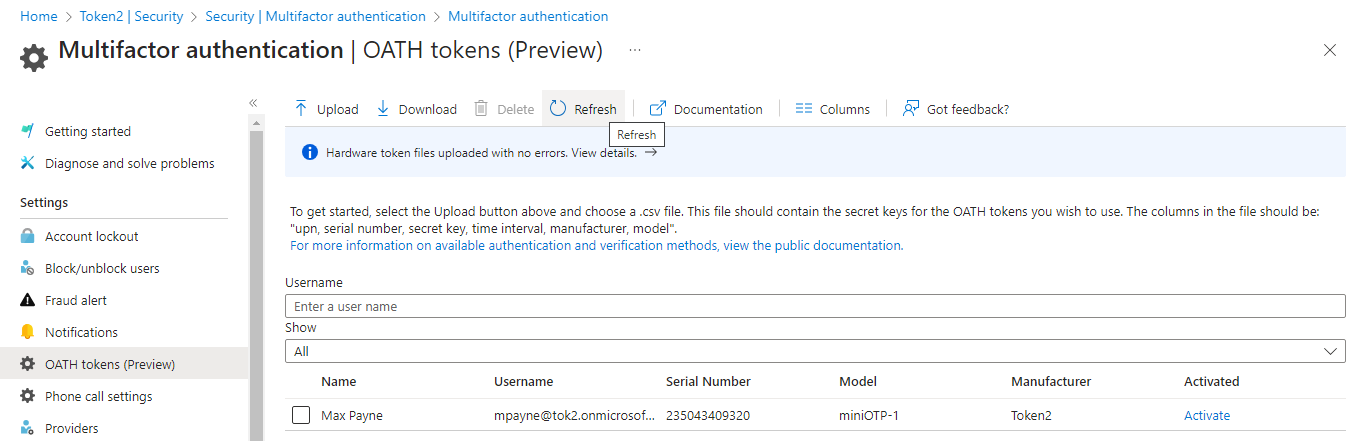
If the upload is successful, click on "Refresh" button to see the list of tokens on the same page.
Activating tokens
You should activate the tokens one by one. To proceed with activation click on Activate link on the last column. Enter the 6 digit OTP code shown on the token (yes, you have to have access to the token) and click on "Activate"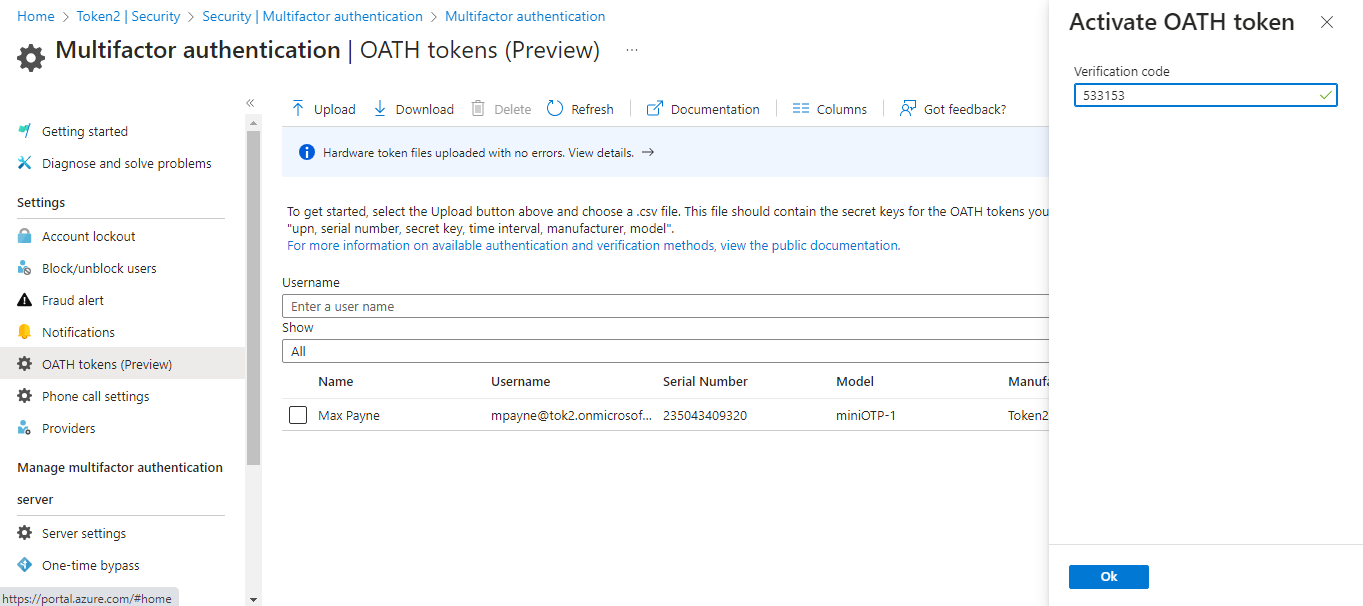
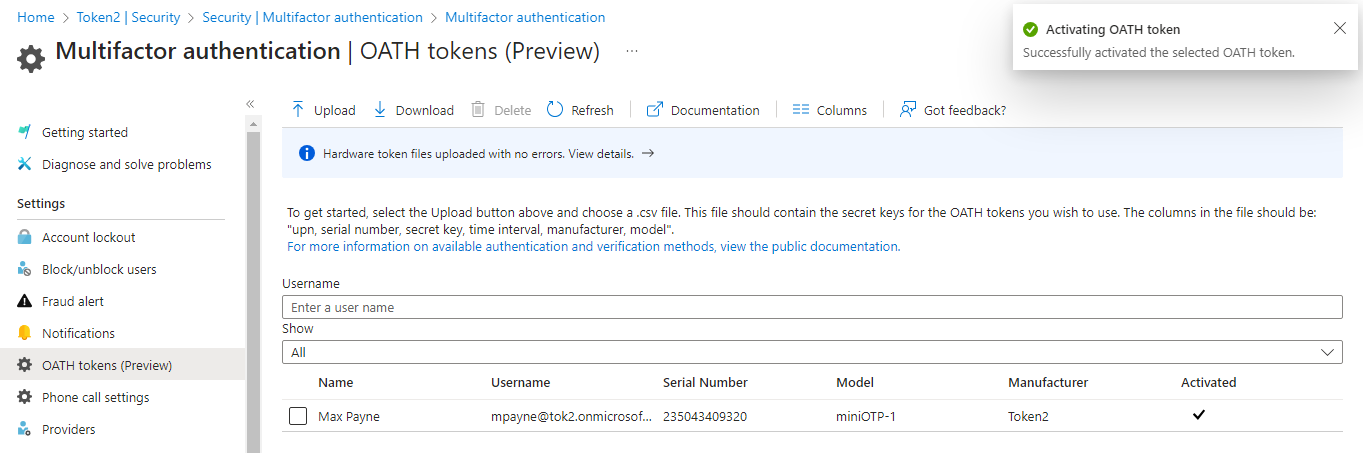
If the OTP is accepted by the MFA server, a message saying "Successfully activated the selected OATH token" will be displayed and the user will have a checkbox in the Activated column.
The activation process proposed by Microsoft is manual and can be done only for one user at a time. If you need bulk activation, Token2 has developed a solution to automate the activation of imported hardware tokens with Azure MFA.
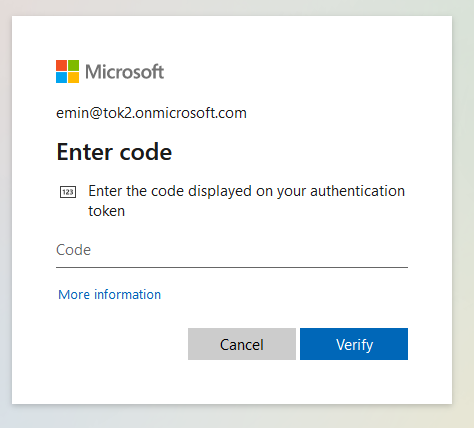
Once the OATH token is activated and set as the default MFA method, users can use it to log in. The login page will ask for an "authenticator token" code, and the OTP generated by the hardware token will be accepted without any issues.
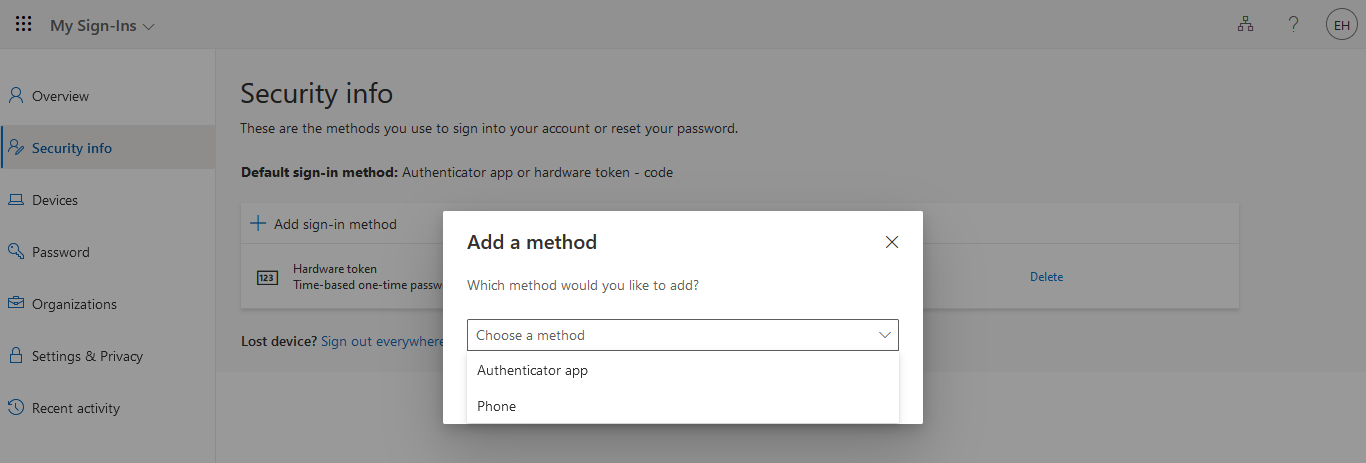
For larger organizations, we recommend to instruct users in remote offices to set up additional MFA methods in addition to the hardware tokens. This will ensure users can still log in in case the hardware token is lost or damaged. Additional MFA factors, such as SMS or mobile app can be configured by users themselves on this page.
Video
Check out this video review created by one of our clients demonstrating the process of importing and activating the tokens as well as user login experiencesecurity tokens that work with office 365OATH tokens for Azure MFAclassic hardware tokens for Office 365
updated: 14/11/2025 08:49
Classic tokens with Entra ID
Other Entra ID/MS365 Guides
Subscribe to our mailing list
Want to keep up-to-date with the latest Token2 news, projects and events? Join our mailing list!